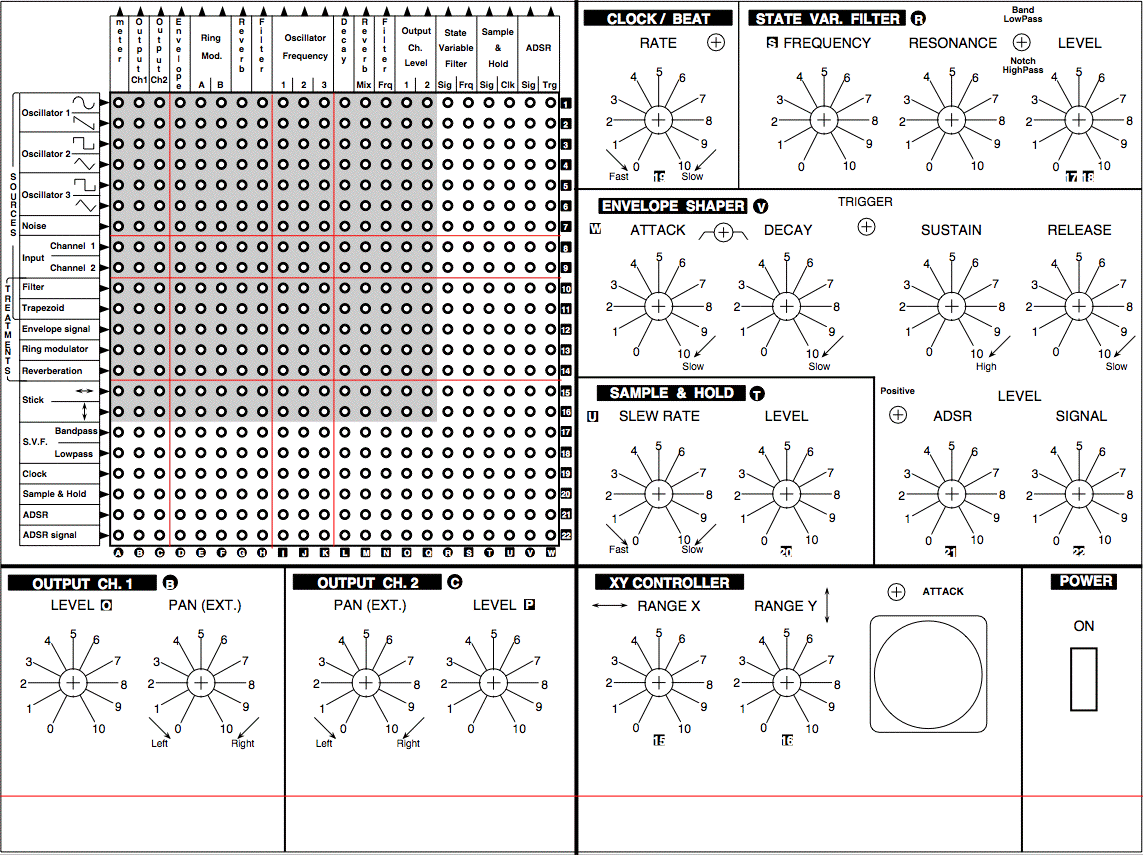
| The electronics |
Some of the original schematics
are available on the Internet, these are :
Module schematics
|
Internet location
|
Oscillator
1 (sine, saw)
|
Hinton
Instrument EMS-MOD page
|
Trapezoid
envelope shaper
|
Hinton Instrument
EMS-MOD page |
Output
module
|
Hinton Instrument
EMS-MOD page |
Noise +
Meter
|
Stefan Sundberg +
other modules
|
Ring
modulator (Marjan Urekar)
|
Marjan Urekar's schematics
|
PSU (to be
avoided ! use 7812 & 7909 instead)
|
Hinton Instrument
EMS-MOD page |
VC
Reverberation (adapted by JH)
|
Jürgen
Haible
|
Mods
(Graham Hinton), sync, buffering....
|
Hinton Instrument
EMS-MOD page |
|
The other
original schematics (Osc. 2 & 3, VCF, input, Joystick) are not
available unless you buy a copy of the VCS3 manuals from some
specialized companies.
One schematic very much sought after is the diode ladder VCF. It is
possible to find schematics of "EMS-like" VCF using diode ladder, they
work pretty well but are not the original stuff. These "ersatz" can be
found at Stefan
Sundberg's site and also at HyperReal
Music Machines or at E-Music
DIY archives.
You may also check these : Masa921
japanese site (closest to EMS VCF than the previous) and Tom
Gamble's version (VCF 6c) at EFM.
You may as well try the PE Minisonic2 design which is close to the
original one ( Julian Bunn's Minisonic2
page or Anders Sponton's C.A.G.)
Eventually, I have purchased a copy of the full service manual, I
scanned the
schematics and decided to make them available. You can download them here.
|
|
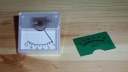
The meter
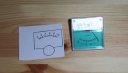
click to magnify
|
I
used a small
signal meter that I purchased at Maplin's (www.maplin.co.uk, ref. LB80B
at UK£3.99). Its technical parameters are 250µA FSD
and 675ohms internal resistance.
The original number scale is 0 to 5 over a lime green background. It's
quite easy to substitute another scale on a white background. The
plexiglass covers is fixed only with two thin transparent adhesive
tapes. I printed my own scale (0..10) with a laser printer on a
printable label (white sticker). After removing the plexigless cover,
take out the green plastic scale that is slightly glued (use a sharp
knife). Stick the new scale, put the cover back in place and seal
it with the adhesive tapes.
|
|
| The making of the electronics...
To be continued... |